
Hello friends,
Today, I'm going to have a card maker gathering in MSI store in Serpong, Tangerang. It's very far away from my place. I need to take 3-hour train to Jakarta. Then I need to take 2 times of city train around 1 hour and half an hour by taxi.
We all had planned this gathering since more than a month ago. We were so excited. We were 31 card makers from Jakarta, Cirebon, Semarang, Surabaya and Bali. And we promised to swap for the goodies. So I decided to give each of them 2 bunches of twines. To accommodate the twines, I made the tags. Here is the tutorial.

Cut a tag. I used a die cut from Tim Holtz. So pretty tag.Then adhere a pocket in the front part. When you measure the pocket, make sure to add some cm on the sides and below. See the tags below.


Then cut a small paper to emboss the sentiment. Below, I used Spellbinder die cut. Then I used the sentiment from Hero Arts. Embossed the sentiment with some glitter.


Here, I used MFT die cut to make these beautiful daisies. I adore this Canson paper.
Adhere the monogram on the circular paper. See the picture below.

Voila!! Insert the twines to the pocket. Done!
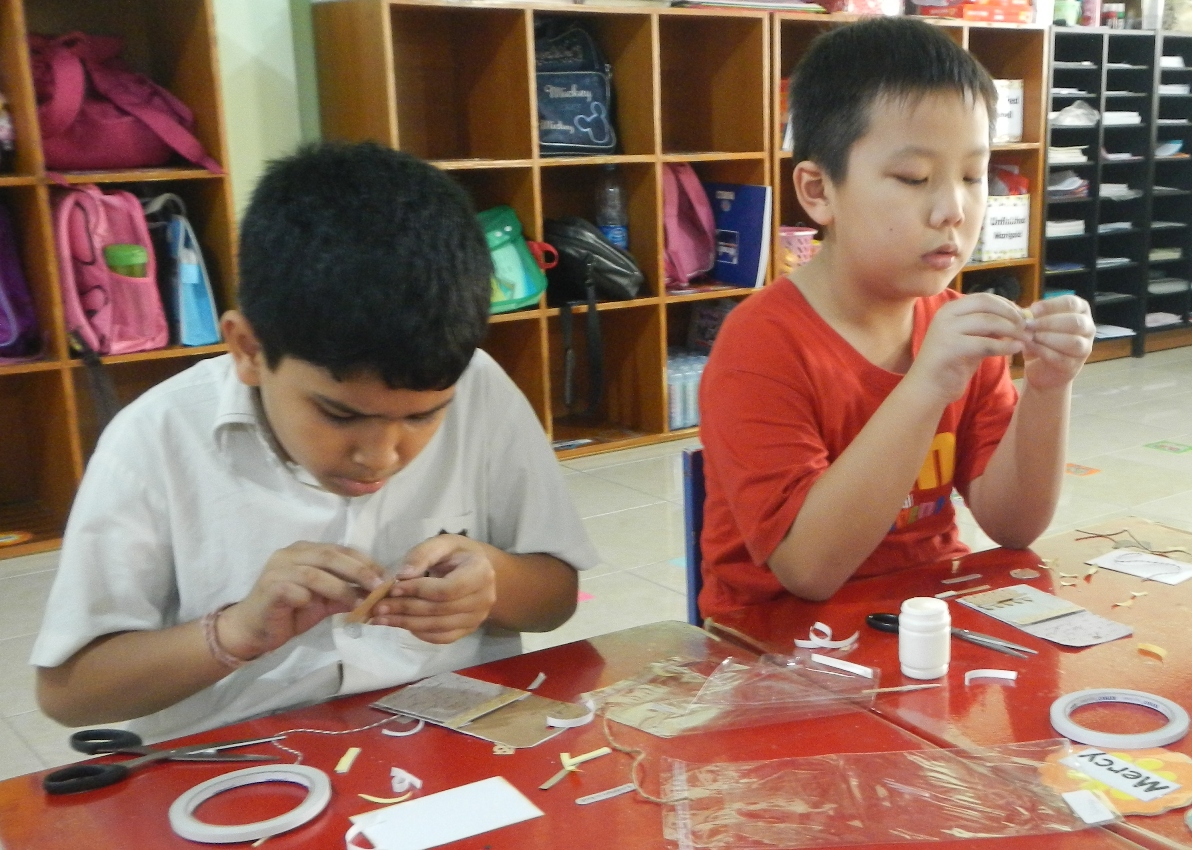
It's so easy that I gave this tutorial to P3-P4 students in my craft classes.
Take a look these pictures:


How about you? It's easy, right? Since this is so easy, why don't you join the monthly challenge in my Facebook Account. Just add: Dwita's Crafty Crafts.
Hope you enjoy the tags. Hope my friends will appreciate the tags I made. I wonder what they made for me.
I'll be back..
No comments:
Post a Comment